
[ad_1]
More often than not, I exploit my digital camera for images, however it’s simple that trendy cameras are often full of video options as properly. When you’re pondering of filming some video along with your digital camera however are a bit overwhelmed by the place to start out, these beginner-friendly suggestions ought to enable you out.
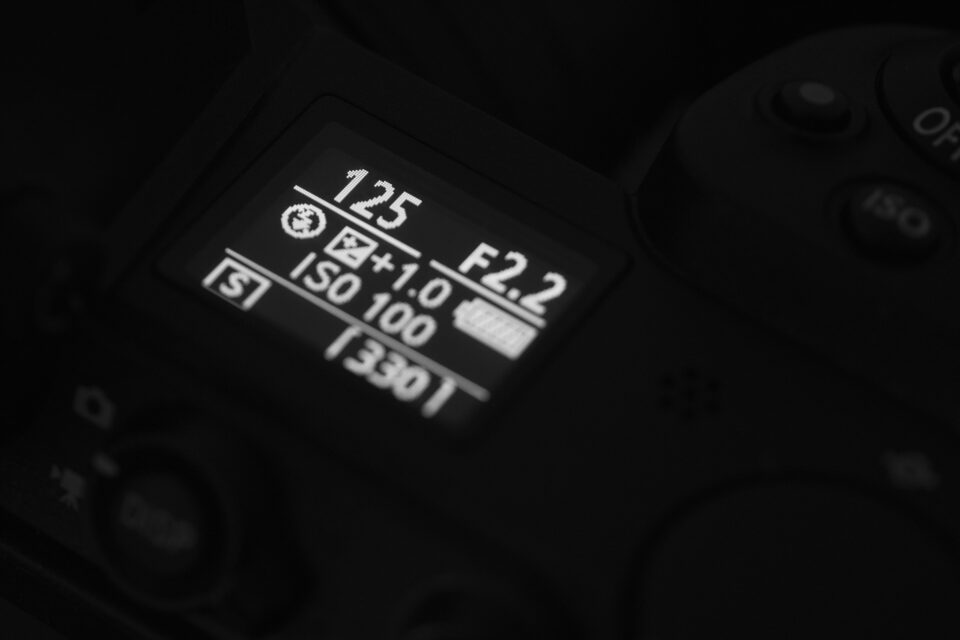
1. Begin with Shutter Velocity
Shutter pace for video works very in a different way than it does for images. With a shutter pace that’s too quick, your footage will look uneven – however go too far within the different path, and transferring objects will appear unnaturally blurred.
The final rule is to set your shutter pace based mostly upon the body fee that you simply’re utilizing. Merely double the body fee, then invert it – that ought to provide the most pure wanting movement. For instance, if you happen to’re capturing at 30 frames per second, your shutter pace needs to be round 1/60 second.
For the reason that precise shutter pace you need won’t be accessible, right here’s a fast desk that will help you out:
| Body Fee | Greatest Accessible Shutter Velocity |
|---|---|
| 24FPS | 1/50 |
| 30FPS | 1/60 |
| 60FPS | 1/125 |
| 120FPS | 1/250 |
| 180FPS | 1/400 |
After all, there are artistic the explanation why you would possibly select a unique shutter pace, however you may’t go fallacious with this primary formulation.
(When you’re attempting to determine which FPS to make use of, take a look at my extra detailed information – however for starters, a body fee of 24 FPS is a cinematic look that works properly for filming folks, whereas 30 FPS is best for many different topics. Increased body charges like 60 FPS or 120 FPS are most helpful for slow-motion video however may also work properly for fast-moving topics like wildlife.)
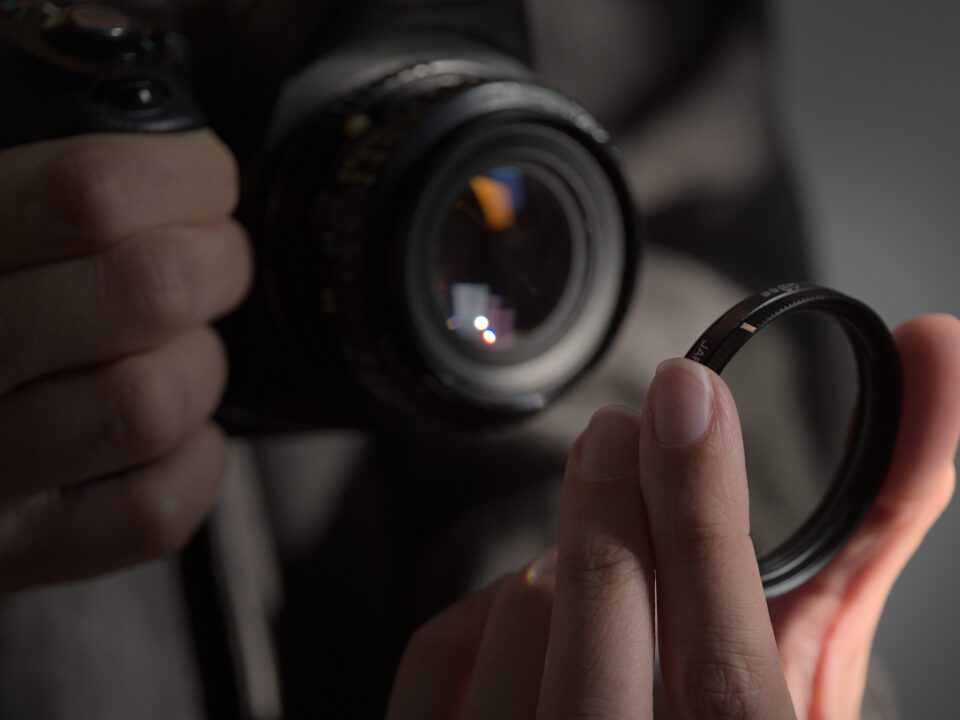
2. Get an ND Filter
From the earlier tip, you will have observed that almost all video requires pretty gradual shutter speeds in comparison with images. Meaning that you could be wrestle to keep away from overexposure, particularly if you happen to’re capturing in brilliant mild outside.
The answer is an ND (impartial density) filter, which reduces the sunshine coming into your digital camera.
I do know, it sounds a bit counterintuitive, since many photographers are used to having the other dilemma – not capturing sufficient mild. However if you’d like essentially the most pure movement blur, and also you’re sticking to shutter speeds like 1/60 second, an ND filter is an enormous assist.
When you’re eager on getting the correct amount of sunshine discount with an ND filter, right here’s a chart that can enable you with the worst-case situation: a sunny day, assuming that your digital camera’s base ISO is 100.
| Most Aperture You Need | Required ND filter for 24fps | Required ND filter for 60fps |
|---|---|---|
| f/1.4 | 8 Stops | 6 Stops |
| f/2 | 7 Stops | 5 Stops |
| f/2.8 | 6 Stops | 4 Stops |
| f/4 | 5 Stops | 3 Stops |
| f/5.6 | 4 Stops | 2 Stops |
| f/8 | 3 Stops | 1 Cease |
When you want many of those configurations, it pays to get a variable ND filter that may be adjusted whereas the filter is on the digital camera. In any other case, a 3 or 4 cease ND filter is often versatile sufficient to suit most situations (keep in mind that the above desk is for a really brilliant, sunny day).
You could not even want an ND filter if it’s a cloudy day, you’re in a darkish forest, otherwise you’re indoors. When you’re utilizing video lights indoors, ND filters are undoubtedly not required.
If for some motive your filter just isn’t robust sufficient, you need to use a quicker shutter pace with out harming video high quality an excessive amount of. That is very true at increased body charges: I doubt many individuals will have the ability to inform the distinction between the shutter speeds of 1/125 and 1/160 when capturing at 60 FPS, for instance.
Hack: When you don’t have an ND filter, a polarizer will help, since additionally they cut back mild by about 1-2 stops relying on the scene!
3. Set Your Digital camera to a Impartial Profile
In contrast to in images, likelihood is, your digital camera can’t shoot Uncooked. And even if you happen to can shoot in Uncooked as a result of you’ve gotten a Nikon Z9, I definitely wouldn’t suggest capturing in Uncooked video as a newbie. In reality, I might not even suggest capturing in Log as a newbie.
What you must do, nonetheless, is about your digital camera’s image profile to a impartial profile. This can nonetheless provide you with some flexibility for post-processing scenes with loads of dynamic vary, with out being practically as tough to make use of as Uncooked or Log video. On most cameras, that is discovered within the film menu below “Image Profile” or “Image Model.”
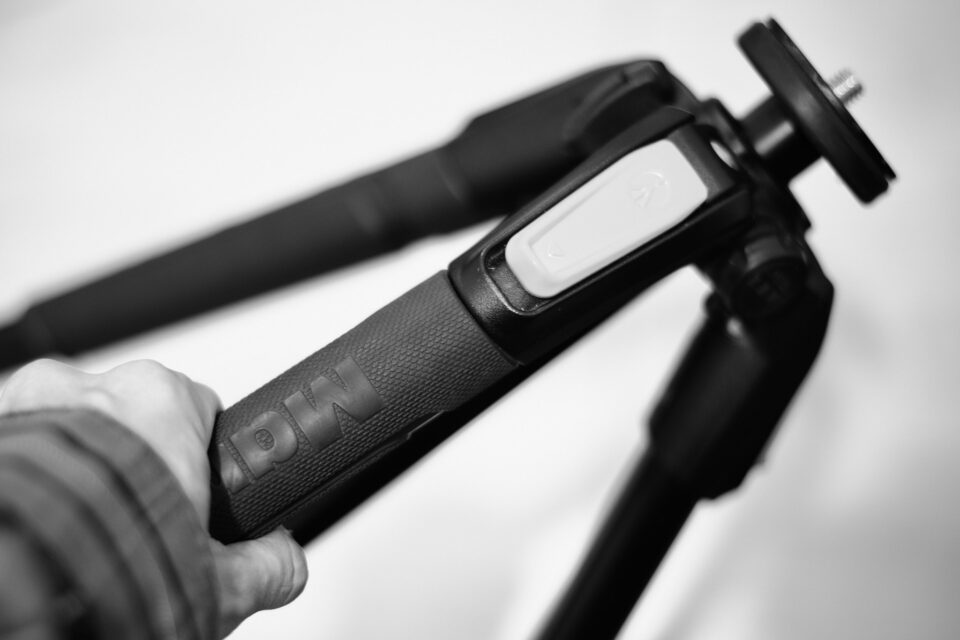
4. Shoot on a Tripod
For scenes the place the digital camera doesn’t have to maneuver a lot, capturing on a tripod will assist immensely.
It’s true that picture stabilization techniques are superb as of late, and with regular lenses, I can get fairly steady hand-held footage, particularly if I stabilize it in submit. Nonetheless, what I’ve discovered is that with any focal size, footage virtually all the time appears to be like higher on a tripod (or different stabilization gear like gimbals, sliders, or cranes – however these are way more superior).
That’s in fact assuming you need the steady look. When you’re filming the subsequent Bourne movie, overlook this tip.
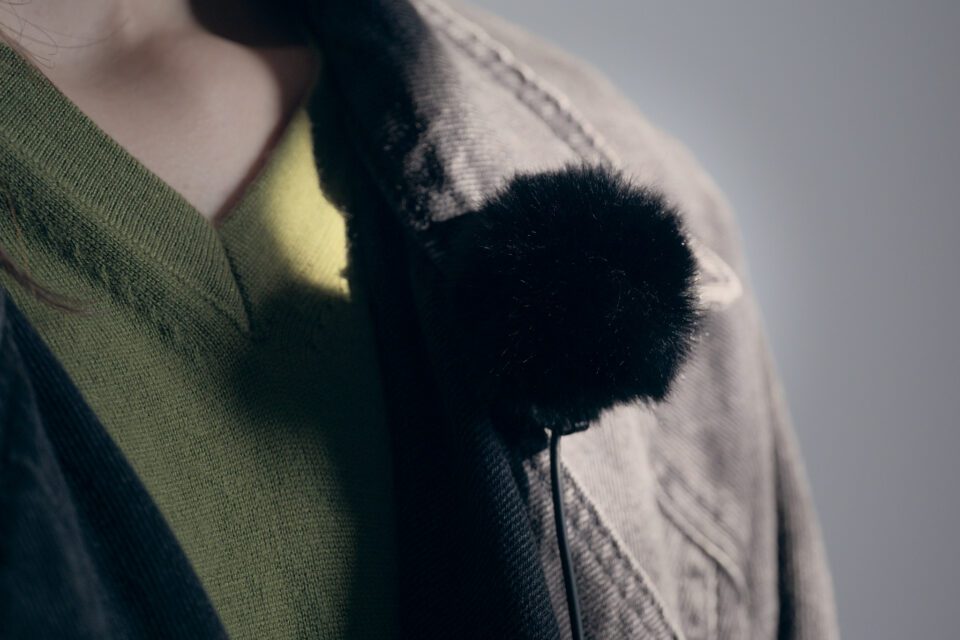
5. Use An Exterior Microphone
Even on the very best cameras, the interior microphone offers you completely horrid audio high quality. That’s not simply because the microphone is unhealthy, however as a result of the microphone might be too far-off out of your sound supply.
So, if you happen to’re planning on speaking in your video, be completely positive to choose up a shotgun microphone system, or for the very best dialog, a lavalier microphone system.
Simply keep in mind the golden rule of video: folks can overlook just a few minor video issues like overexposure, however they are going to be completely repulsed by unhealthy audio.
6. Scale back Noise in Your Audio
Since audio actually is a very powerful side of video, I’ll provide you with yet another tip: cut back noise or “background static” in your audio. There may be actually nothing worse than listening to a video with audible background static, and even the very best audio setups can have some static.
Many packages can do that, however it’s simple sufficient that I’m going to present you a mini-tutorial right here on easy methods to do with the free software program Audacity.
First, be sure you have a piece in your audio with none speaking or different noises you need in your recording. Choose a chunk of that “quiet” space containing simply the static. Then go to Impact > Noise Elimination and Restore > Noise Discount. You must get a window that appears like this:
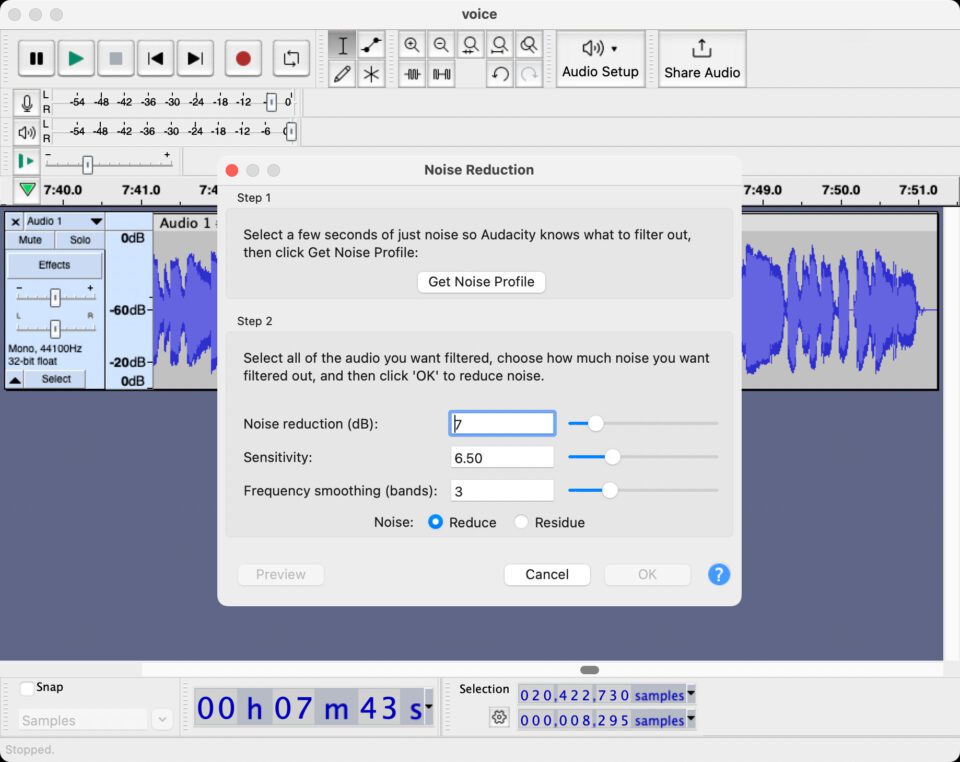
Click on Get Noise Profile. Then, choose your complete audio and go once more to Impact > Noise Elimination and Restore. Be certain that the Noise Discount (dB) subject is about to round 8dB and click on OK.
You’ll have to experiment with the 8dB worth I gave you, however it is a good begin, and it really works properly for many first rate recordings. Simply make certain to not do greater than about 10dB as a result of then the noise discount will begin to have an effect on your primary audio high quality.
Belief me, if you happen to do that step, your viewers will respect it.
7. Get a Video Tripod Head
Now that we’ve gone via essentially the most primary stuff, it’s time to speak about panning. Overlook doing this along with your ball-head, even in case you have a panoramic base. I attempted this once I knew nothing about video, and afterwards, I couldn’t hit the delete key quick sufficient.
As a substitute, the easiest way to do pans on a tripod is with a devoted pan-tilt video head. These heads have a dampened resistance mechanism for making clean pans.
I exploit a Manfrotto Nitrotech 608 that works decently, although if you will get a Cartoni or Sachtler head, that may be even higher. Sadly, good video heads will not be low-cost, and a budget ones will not be good.
Take into account that just some video functions really want a video head – conditions the place you’re monitoring a topic, primarily. You may definitely make nice movies with only a digital camera and a tripod if you happen to don’t want this form of characteristic.
8. Get a Video Gimbal
One other approach so as to add movement and intrigue to your video is utilizing a video gimbal (which is one thing completely different than the gimbal tripod heads that wildlife photographers use).
A video gimbal is principally a motorized, hand-held machine that helps stabilize your digital camera and transfer it in varied instructions. Gimbals are perfect for wider focal lengths below roughly 100mm, and the distinction between handheld footage with and and not using a gimbal is night time and day.
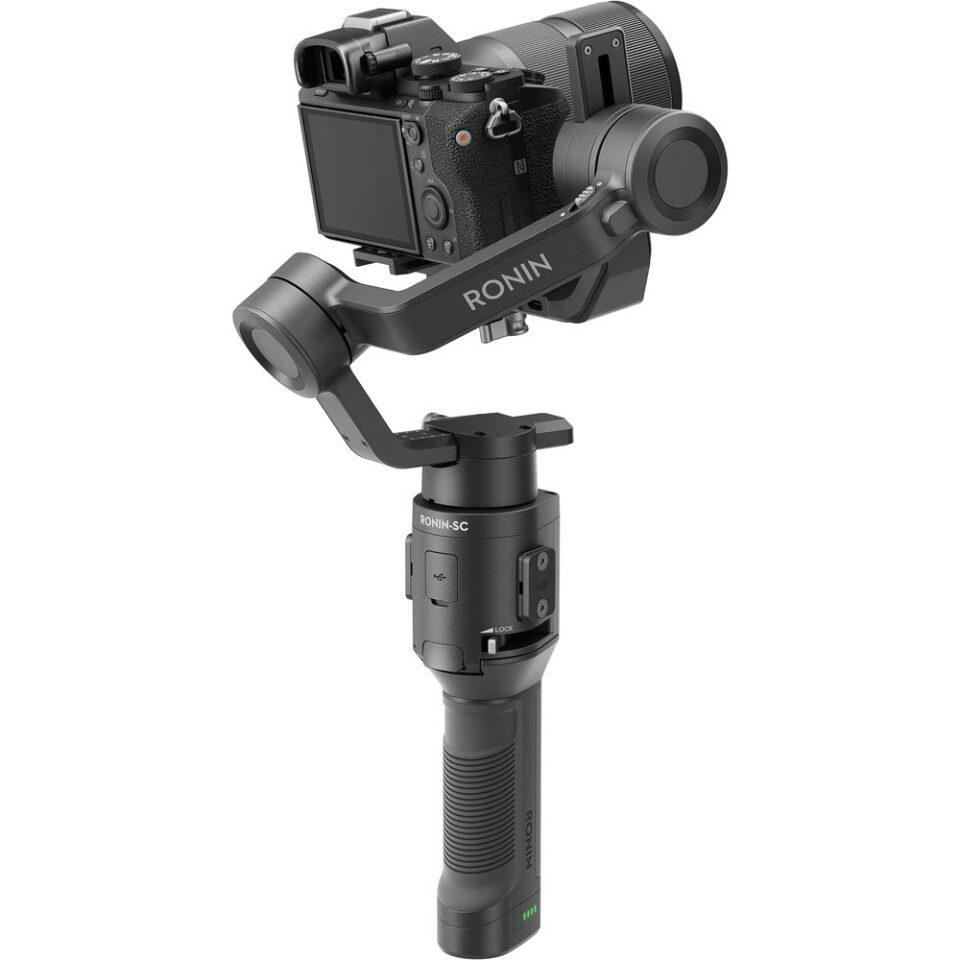
Gimbals will permit you to do issues like stroll along with your digital camera and produce clean footage with out the hint of footsteps. That’s virtually inconceivable to do by hand-holding your digital camera in any other case.
Gimbals will not be onerous to make use of, and I might extremely suggest the article Understanding Gimbals written by my colleague Alex Coleman to get began. After that, take a look at his Greatest Video Gimbals article, which is able to enable you select the suitable gimbal in your digital camera.
9. Assume A couple of Sequence of Compositions
When you already find out about composition in images, then you definately’re in luck: the identical guidelines apply to video. Nevertheless, video is a sequence of compositions, and each must make sense to inform a narrative.
Because of this, you could want to consider composition barely in a different way for videography. For instance, in images, a transferring object is extra like some extent in your body, whereas in a video, that object will flip right into a line traced on the scene. Thus, you may compose your shot in video occupied with the complete traced line.

One solution to put it’s that video provides a brand new dimension to composition. An effective way to be taught is just to observe well-directed films and pay shut consideration to how motion is utilized in composition, and the way it helps inform the story at hand.
The Planet Earth sequence from the BBC is a well-directed sequence that might provide you with many concepts about composition and the way it adjustments in videography.
10. Inform a Story
Even in comparison with images, which is extra visually-dominated, video locations extra emphasis on telling a narrative. To make a video partaking, assume not nearly placing a bunch of good photographs collectively, however about telling a cohesive story.
To that finish, it helps to plan your story on paper earlier than filming. Make an inventory of the photographs you’ll want, and also you’ll be very completely satisfied you probably did so when it comes time to movie.
Telling a narrative doesn’t simply apply to fiction, both! Even if you happen to’re making a tutorial video, it helps to consider an total story behind the tutorial.
For instance, let’s say you’re making a video about easy methods to construct a chair. You can also make your video extra attention-grabbing if you happen to plan forward of time easy methods to succinctly get from Level A to Level B, with good footage of the chair so as to add visible curiosity, somewhat than rambling in a single lengthy take for an hour.
Tip: Ask a query at first of your video after which work clearly towards an answer, revealing the reply on the finish.
11. Pay Consideration to Sound Design
Sound design is ensuring there are sound results and background music when acceptable. Sound design is the key to extra partaking video, and it’s the factor that folks overlook essentially the most.
For instance, if you happen to’re making a video of your self taking footage, it’d assist to place in some related ambient sounds throughout timelapses, or make it possible for folks can hear the shutter sound while you take a photograph. Generally, using music needs to be non-distracting and may match the temper of what you’re doing.
Sadly, while you’re filming, you gained’t seize each sound even if you happen to’re utilizing good microphones. Thus, you could want so as to add in ambient noises later. When you hold this in thoughts whilst you’re filming, you’ll make time to seize “audio footage” the place the visuals don’t matter, however the place you propose to make use of the audio clip at a later time.
That is undoubtedly a extra superior approach, however if you happen to take the time to place sounds in your video that match the video itself, then you’ll elevate your video to an entire new stage.

12. Carry Some Further Batteries
Images already takes a good quantity of battery energy, however video takes it to an entire new stage. Sadly, if you happen to’re capturing loads of video, particularly in increased resolutions like 4K and even 8K, your battery will drain actually quick. Thus, I like to recommend carrying not less than two further batteries along with a fully-charged one in your digital camera.
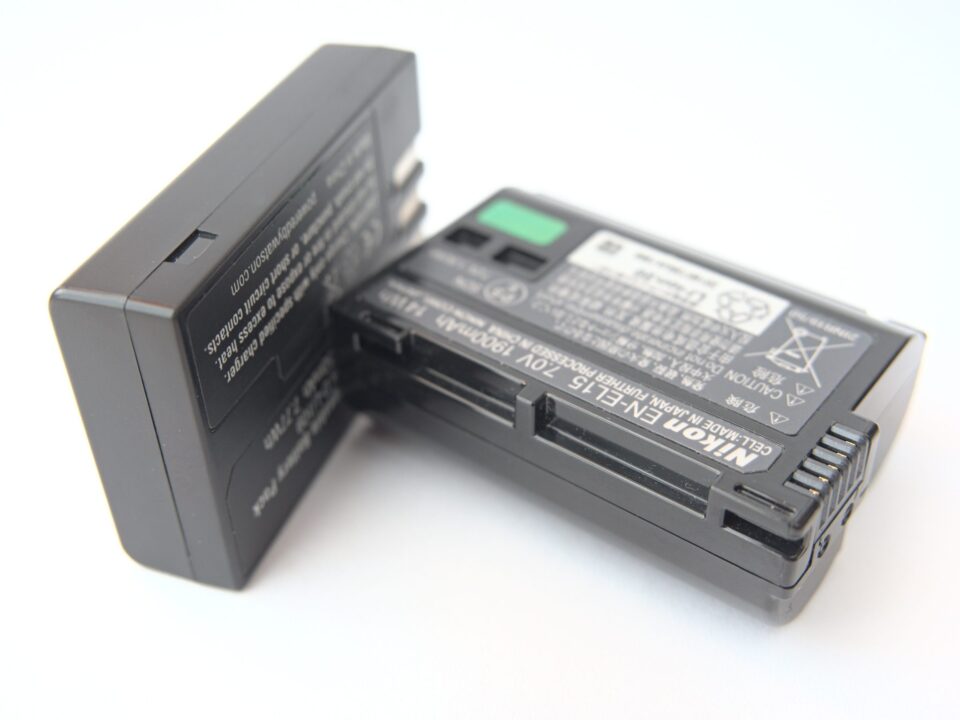
I all the time suggest first-party batteries, and I particularly suggest them for video. Third-party batteries merely don’t final as lengthy, and there’s actually no level in saving twenty {dollars} in alternate for the headache in coping with third-party batteries.
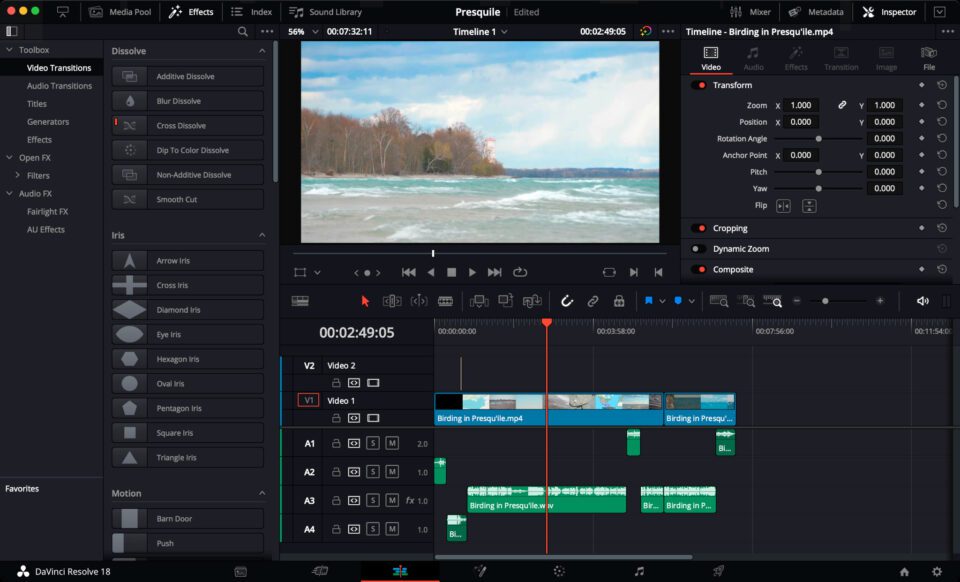
13. Get a Video Editor
When you shoot your footage, you’ll should edit it. In my view, it’s onerous to beat the free model of Davinci Resolve.
Regardless of not having some options that the paid model has, the free model of Davinci Resolve is actually excellent and might do every part you’ll want for making a primary video. Adobe Inventive Cloud customers even have entry to Adobe Premiere, in order that’s an alternative choice – whereas Mac customers usually swear by Closing Lower.
These are undoubtedly the “huge three” (Resolve, Premiere, and Closing Lower), however there are others, too. When you’re searching for an open-source editor, I’ve tried many, and I consider the very best one is Shotcut. Though Shotcut doesn’t come near the free model of Davinci Resolve, it hardly makes use of any assets, so it’s a wonderful choice for older computer systems.
Conclusion
Video requires a little bit of a unique method than nonetheless images, however it’s not onerous on the finish of the day. As all the time, a very powerful factor is to apply, since there isn’t a substitute for studying this stuff in individual. Nevertheless, the ideas right here offers you a fantastic head-start, and so they’re methods that I exploit each time I shoot video.
To photographers, or anybody else, who has not but tried video, I recommend giving it a whirl. You simply could discover one thing surprising!
[ad_2]
Leave a Reply