
[ad_1]
The Panasonic G9 is one among my favourite cameras. In contrast to the GH collection, that are extra oriented in direction of video, the G9 is an ideal mix between photograph and video options. On this article, I’d wish to share some tips about how and why to set the ISO on the Panasonic G9.
The right way to Change the ISO
There are three fundamental ISO modes on the Panasonic G9: handbook, auto ISO, and iISO (AKA clever auto). It’s straightforward to change between these modes through the use of the ISO button situated on the highest of the digital camera:
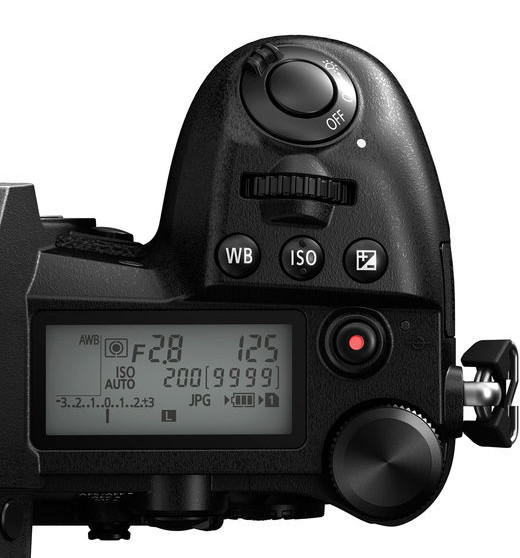
By urgent the ISO button and scrolling with the rear scroll wheel, it is possible for you to to alter your ISO manually from 200 to 25,600. Scrolling clockwise will decrease the ISO values, whereas counterclockwise raises them. As soon as you might be completed setting the ISO, simply press the ISO button once more.
Nevertheless, by scrolling additional clockwise, you’ll get to Auto ISO and iISO modes.
What are Auto ISO and iISO Modes?
The Auto ISO mode, the place “ISO AUTO” is displayed within the prime LCD, merely calculates the required ISO for an accurate publicity. I typically use Auto ISO whereas I’m in handbook mode, as a result of it permits me to pick an aperture and a shutter pace and let the digital camera do the remainder.
The iISO mode is a bit completely different. It will probably solely be utilized in aperture precedence mode. In reality, it gained’t even be obtainable in shutter precedence or handbook modes. On this mode, the G9 makes an attempt to calculate the ISO required for an accurate publicity, nevertheless it additionally adjusts the shutter pace for topic motion. If the digital camera thinks the topic is shifting shortly, then it’s going to use a quicker shutter pace and better ISO to attempt to freeze the topic.
Which Mode Ought to You Use?
For basic images, I often use auto ISO mode. It really works in any mode, together with handbook mode, and it permits you to deal with the 2 publicity variables that matter most: aperture and shutter pace.
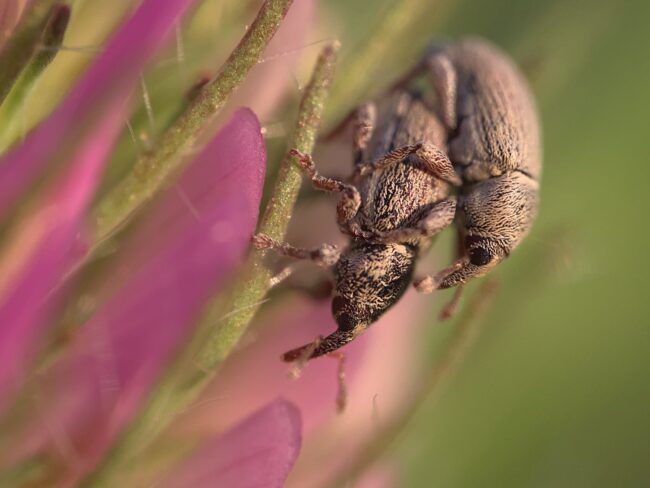
What about iISO mode? This mode tries to guess the right shutter pace for freezing motion based mostly in your present topic. It’s not a foul alternative for those who’re in aperture precedence mode. Nevertheless, the digital camera won’t at all times predict the proper shutter pace for fast-moving conditions. For one thing like wildlife images, I desire to make use of handbook mode with Auto ISO as a substitute. Then you possibly can set the shutter pace your self and assure a pointy consequence.
Nevertheless, the iISO mode can typically be helpful, corresponding to when taking portraits, or photographing different slower-moving topics. On this case, iISO often works very properly. It’s good to have the ability to go away shutter pace and ISO to the digital camera, and solely take into consideration aperture.
Lastly, what about utilizing handbook ISO on the G9? Though I take advantage of auto ISO more often than not, there are positively some legitimate causes to set the ISO manually:
- You’re doing panorama images from a tripod. On this case, you may be manually setting ISO to the bottom worth each time.
- You want all of your digital camera settings, together with ISO, to be handbook for one of many following causes:
- You’re capturing video and don’t need the publicity to alter mid-shot.
- The sunshine is completely constant, like studio images.
- The sunshine could be very tough, like Milky Manner images, inflicting the digital camera’s computerized meter to fail.
- You’re utilizing a flash and need full management over it.

Conclusion
ISO could be very straightforward to alter on the Panasonic G9, and there are legitimate causes to make use of every of the modes. More often than not, auto ISO mode is okay, however you’ll nonetheless need to manually set ISO in sure conditions.
I hope this little tip helped you get probably the most out of your G9! You probably have any feedback or questions, I’d be glad to reply them within the feedback.
[ad_2]
Leave a Reply